Scenario: Your son asks you “Dad what’s an ornithological specimen?” Gosh you just read something about it today at work on Wikipedia. You only bookmarked the page but you didn’t save it, unfortunately there is no internet at home.
![]()
This is a step by step guide on how you can import part of Wikipedia’s database onto your machine, or set up your own wiki so you can share with the rest of the world about something you know broadly about, and of course your friends can contribute. Is it achievable, Yes (Don’t worry, you don’t need a computer science diploma to do it). Wikimedia Foundation the company that hosts Wikipedia actually gives out the software that runs Wikipedia for free. The software in called MediaWiki.
Firstly to run MediaWiki you need a local server. A local server is simply a program that hosts a website on your local machine. So a website hosted by a local server doesn’t need internet to get to. So let’s get ourselves a local server. The internet has several of them and the majority are downloadable for free. The most common are:
WAMP for Windows OS
XAMPP for Windows, Linux and Mac OS
LAMP for Linux OS
And MAMP for Mac OS
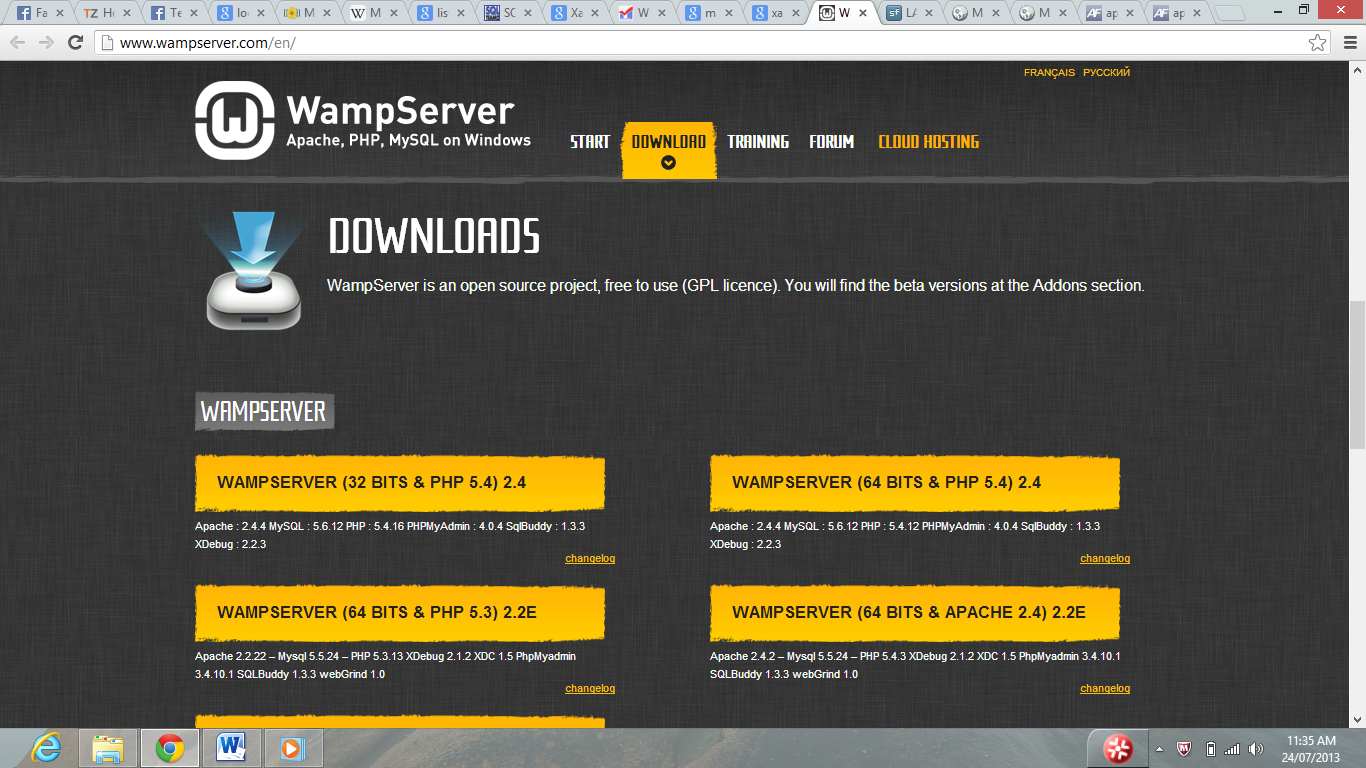
I’m using WAMP. It’s simple and doesn’t require me to be too geeky. You can click on its link to go to its download page.

Download one that fits your computer’s specs. And then run it.
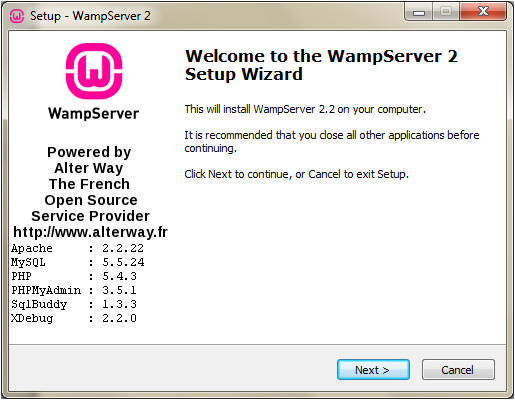
If you have ever installed any software before, you know it’s a matter of hitting NEXT, … NEXT, INSTALL. Okay that may be unsafe in relation to some softwares, but hey we want to save time. If you want a step by step guide on how to do this go to this site.
Ok, now that Wamp server has been installed, open your browser (Internet Explorer, Google Chrome or Mozilla Firefox) and type in localhost in the address bar. This should take you to this page

If that appears it means you have successfully installed WAMP server. You can now host your website on your machine.
Next you need MediaWiki the brother that holds Wikipedia. This is downloadable here. This is a compressed file so you need to decompress it using Winzip, Winrar, 7zip or whatever decompressing software you have. If you are like me you just right click on it and hit Extract to, this will uncompress it and leave the resulting uncompressed file in the same folder with the downloaded compressed file.
Rename the uncompressed folder to “mediawiki” and copy it.
Click Start, then Computer (or My Computer if you are using an earlier version of Windows). Then double click on Local Disk (C:). This is where the wamp software has put its folder if you clicked NEXT… NEXT, INSTALL during installation like I said. Get into the wamp folder and click into the folder with titled “www” You have essentially navigated to C:\wamp\www. This is where you should paste the renamed file “mediawiki”
Now open your browser again. In the address bar type in “localhost” this should take you again to the page we saw before only this time under the Your projects heading there is a folder called “mediawiki” clicking on it should take you to this page,

Click “set up the wiki” link, and now begins another process of clicking CONTINUE, CONTINUE up-to where it shows you this:
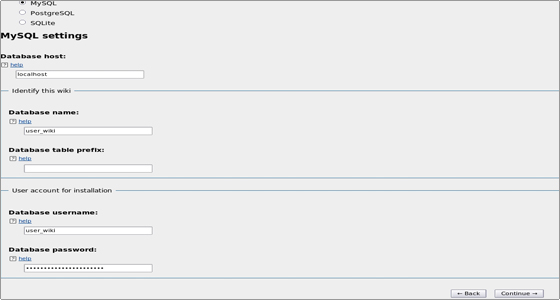
This is where you choose your database name, type in any name that suits you. I called mine user_wiki, My Database username is also user_wiki. I’m lazy like that but you can leave the password field empty. And again my favourite part, hit CONTINUE, CONTINUE… till it asks you for the name of the site, name it “Zimwikipedia” or whatever you desire. Again hit CONTINUE till it makes you download a file called LocalSettings.php. Take that file and place in the C:\wamp\www\mediawiki location. Then get back to the browser and hit the “Enter your wiki ” link. This will take you to your new wiki site. CONGRADULATIONS, we have made it.

Now you can edit your pages. The best way to become familiar with this is being adventurous, don’t worry you will not kill your computer by clicking on links here. Anyway login and type in the username and password you entered during installation.
Now to import Wikipedia files you need to first export pages from there. The following steps are taken from this Wikipedia page.
To export all pages of a namespace:
1. Get the names of pages to export
- Go to Special:Allpages and choose the desired namespace.
- Copy the list of page names to a text editor
- Put all page names on separate lines
- Prefix the namespace to the page names (e.g. ‘Help:Contents’), unless the selected namespace is the main namespace.
2. Perform the export
- Go to Special:Export and paste all your page names into the textbox, making sure there are no empty lines.
- Click ‘Submit query’
- Save the resulting XML to a file using your browser’s save facility.
and finally…
-
Open the XML file in a text editor. Scroll to the bottom to check for error messages.
So let’s get back to our own site and import those pages, type in http://localhost/mediawiki/index.php/Special:Import in the address bar, on the resulting page
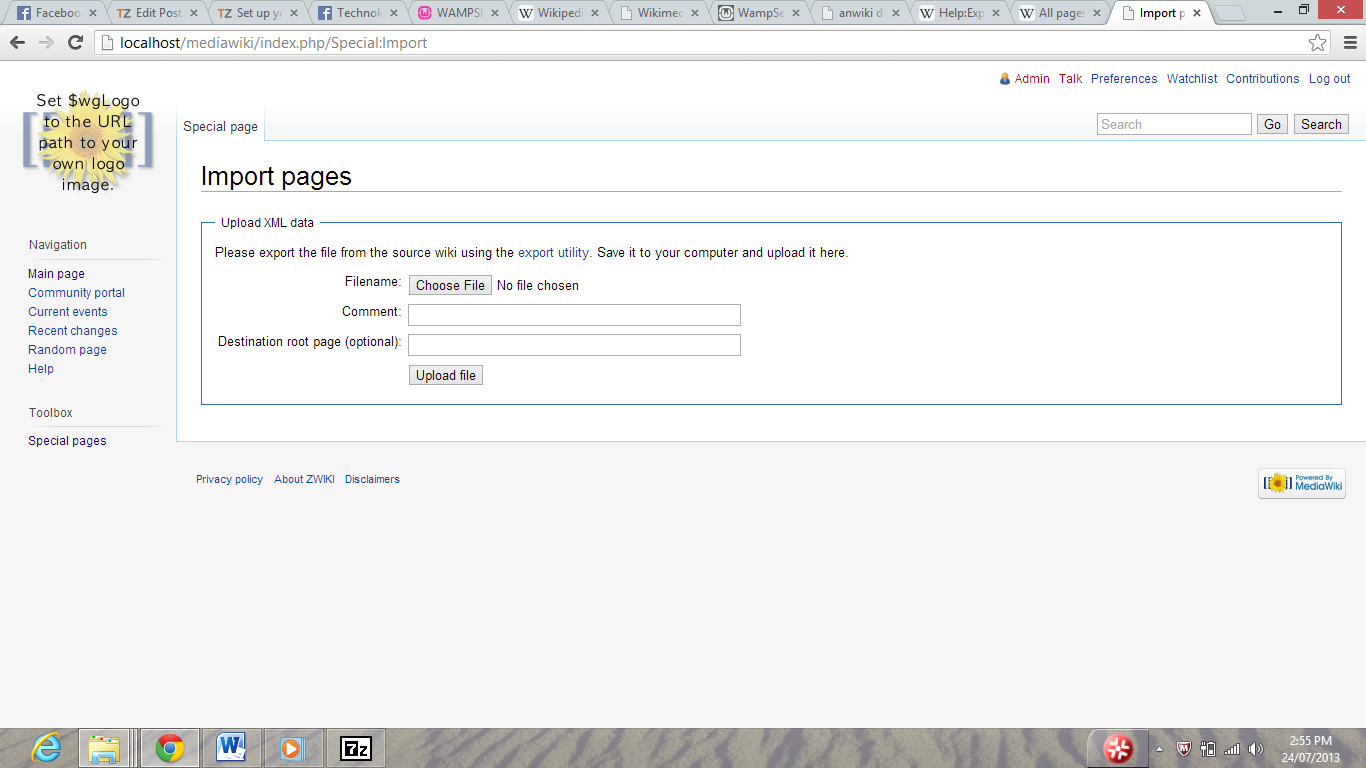
Import the file you downloaded from Wikipedia.
Okay we are done your geekyness. Next time we will show you how you can make your wiki live so the world can see it.
5 comments
I have XAMP already installed on my Windows PC, are the settings just the same?
For XAMP you just need to put the mediawiki folder in the htdocs folder
take a look at http://dumps.wikimedia.org/ if you want the whole archive and want to save yourself the hassle of manually exporting the data
I like how Kelvin’s imaginary home without an Internet connection will be the same home that downloads and installs Mediawiki on its web server in the basement. (facepalm)