Me being me I thought it was a bright idea to save a couple of bucks and do the Azam TV installation myself. I mean I have done about five successful Dstv installations in the five or so places I have moved to, so simple stuff… Or so I thought.
I am going to preface this by saying I am not a certified installer nor am I an expert in dish installations. I’m just a guy that loves figuring stuff out. With that out of the way, this is how to install Azam TV yourself.
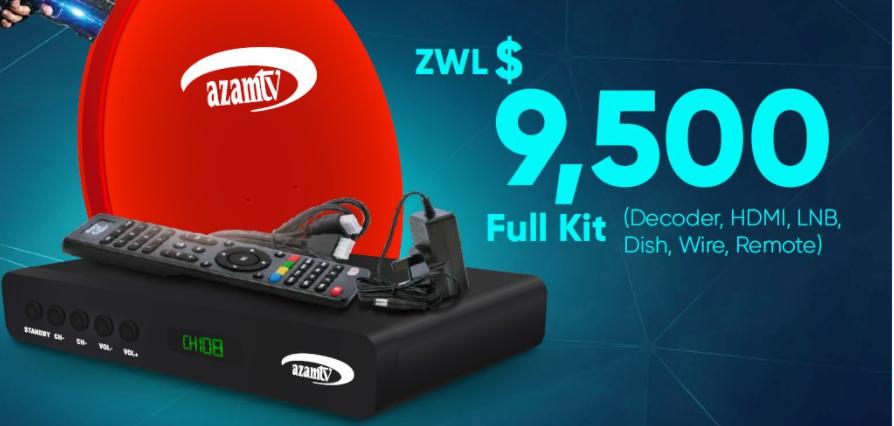
What you will need are a couple of spanners and a screwdriver. If you do not have a pre-existing dish setup and this is an installation from scratch then you will need to do some cabling.
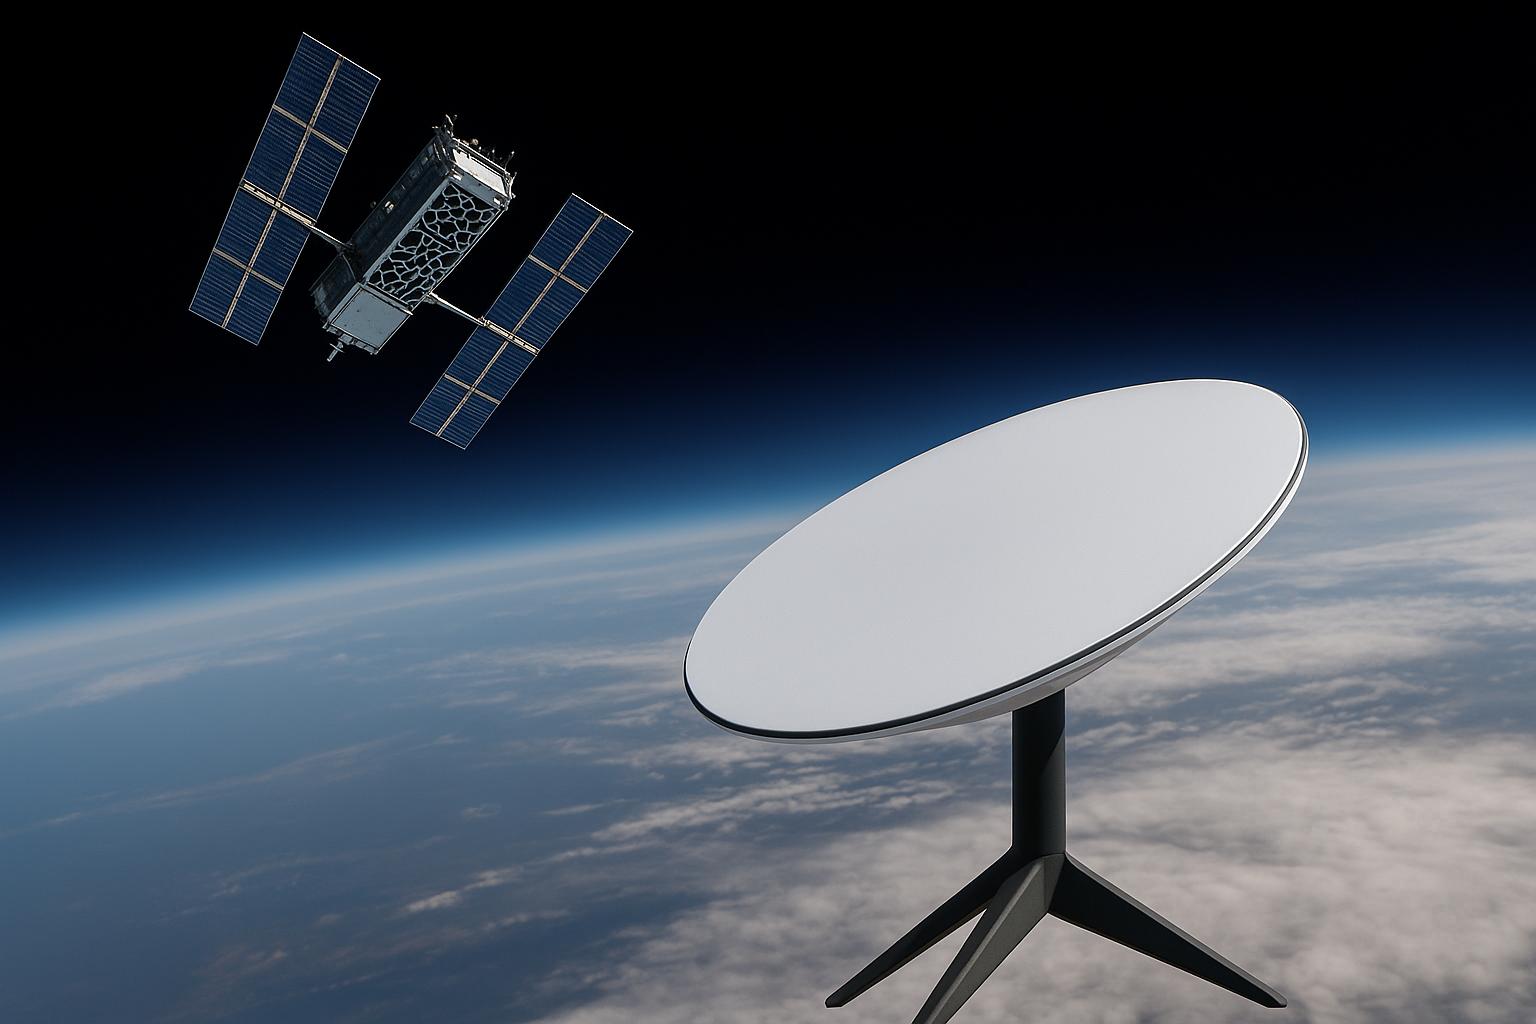
On the Azam TV decoder, you are interested in 3 ports. Power, HDMI/component (connects the decoder to the TV) and the LNB cable port. You have to run the LNB cable from the decoder to where the dish is going to be. We will get to that in a sec.
If you already have a pre-existing dish setup then things can be great or terrible (are there any DStv subscribers moving to Azam TV?) So it can be terrible because you have to relocate the dish. However, for those who didn’t remove their Kwese dishes, it’s going to be a breeze because Azam TV uses the same satellite Kwese was using.
For the DStv users relocating their dish, the direction is 304° if you are using a compass. The elevation is 56° and the LNB skew angle is -52°. I know directions are a problem but because we live in the 21st century there is an app for everything.
The app I used was one called Satellite Finder and it has details on a number of satellites as well as tools to help you focus the dish in the right direction. For those that are curious, the satellite used by Azam TV is the Eutelsat 7B & 7C. Now it can be a process when doing the focus but this is what worked for me.
Start with the direction of the dish which is 304° and get it as precise as possible. And pro-tip, compasses hate metal surfaces so try not to rest or stick the phone onto the dish. The compass will just freak out and not point you in the right direction. I learnt that the hard way…
Next is the LNB skew. The -52° we talked about. If you have a good LNB and LNB bracket, it will have graduations of the degrees which you will use to get to that -52°. On mine, the bracket had a range of -40° to +40° and the LNB itself had -20° to +20° so I did the math till a combination of the 2 scales gave me my -52°.
Another pro tip. The Azam TV decoder takes in a universal input. So, if you have a multi-mode LNB with a bunch of ports, look for the ones marked ‘Universal’ and use any of those.
Once the skew is done you can secure the LNB cable to the LNB on the dish and then comes the fun part. Getting that signal.
So, ensure the decoder is on and is connected to the tv as well as the dish via than LNB cable. Now on the remote press menu, settings then installation. You want to check out the values of signal strength and signal quality.
In my case, the TV was VERY far from me so I could not see the signal strength and signal quality values. I video called myself. I left one phone facing the values on the tv and took the other one to the dish with me. The last step was to adjust the elevation of the dish. This one I did very slowly till I found the part where the values of signal strength and quality were highest and locked it there.
And that is how you perform an Azam TV installation by yourself… Let me guess, you tried and tried again with no success and you now just want to pay a pro to do it and get it over with. Azam TV recommends this installer. Nelson Chiwola (+263776129866/+263733850171)


Comments
23 responses
Not Nelson Chiwola only but Azam recommends any installer who is in or close to your location like in Dzivarasekwa we have Tawanda, Tindo and I, if you are around Dzivarasekwa, Tynawald, Dz Ext contact me on +263775821733, installation is not is if you know nothing of that sort find help
Facts. Thanks for that. For Harare that’s the number we got
Azam installer call 0772784114
What some installation gymnastics, interesting… Finding things out is so rewarding… Some installers don’t do it, do your direct liking so it’s great to DIY
What is the picture quality like? 576P or HD?
Quality is 1080i which is effectively the same as 1080p on resolution
Mukoma Ed the 7 you see on Eutelsat 7B and 7C means the satellite is positioned at 7 degrees East. Telling mafikizolo that the position is 304 degrees will harden their learning.
Hi im in Namibian, wat is the possibility of azan coming to our country? R they offering franchise incase someone wants?
If you buy a AZAM decoder and you want it to be installed contact Blessing on 0773413869in Chitungwiza
For all your azam installation contact. Lachzy on 0712128511 glen norah
For all your azam installation contact. Lachzy on 0712128511 glen norah
If you are in Chitungwiza and you want you AZAM decoder installed contact Blessing on 0773413869
Mike in Waterfalls Harare
Mike in Waterfalls 0772884531
John tsvande in mabhuku tafara,eastview greendale,mandara,zimre
0779519734
Go to Search and press OK. You will be on Auto Search. Check the signal percentage by checking intensity and quality percentage. Intensity should be 70% and Quality 60%. By AOS TV Apk
AzamTV MAX is the worldwide destination for premium Swahili video content including news, sports, movies and entertainment. We’ve got your favorite drama series, Swahili movies, Azam TV News, VPL football and much more. With AzamTV MAX app, you can watch while you travel, commute, or just take a break. by Titanium TV Apk
do you have any installer in Gutu?
Gutu installations contact Simba 0773512276
Signal finders are pretty affordable if you want to take the DIY route
Good advice Bro u re totally a great deal but for those in Harare South areas contact MALONATION On 0772250774 for only 15usd per installation
Which satellite is used by DSTV in Zimbabwe?
What are the angles of azimuth and elevation?
Why ask what you know!